LAB NOTE 002 // ANDROID // LINUX
REDMI A3 // TERMUX // DEBIAN // PROOT
SEPTEMBER 2026
I had a spare Xiaomi Redmi A3 sitting around and started wondering if it could be turned into something more useful. The idea was simple: can this cheap Android phone run a Linux environment, and could it eventually become the heart of my Android Cyberdeck project?
01 // THE IDEA
This experiment started when I began looking into cyberdecks and different ways of building one myself. Most of the builds I found were based around single-board computers such as the Raspberry Pi, but that got me thinking about hardware I already had available.
One device that immediately came to mind was the Xiaomi Redmi A3. It’s an inexpensive Android phone that I had already had it laying in my drawer. featured in an unboxing and first impressions post, and rather than leaving it sitting unused, I started wondering whether it could become the foundation of a cyberdeck.
Before turning the Redmi A3 into a Linux experiment, I had already used the phone for around two months as a normal daily device. You can check out the unboxing and first impressions here.
A smartphone already includes most of the hardware needed for a small portable computer: a display, battery, storage, Wi-Fi, Bluetooth and an ARM-based system. Reusing one would also fit perfectly with the idea behind Open Boot Lab — experimenting with hardware I already own instead of immediately buying something new.
Before thinking seriously about the enclosure, keyboard and the rest of the hardware, there was one important question I needed to answer:
Can the Xiaomi Redmi A3 actually run a usable Linux environment?
The first goal was simple: use Termux to try running Debian inside Android and see how far I could get.
If it worked, the Redmi A3 could become the foundation of the first Android Cyberdeck prototype. If it didn’t, I’d have to find another way forward.
02 // GETTING LINUX RUNNING
With the idea in place, it was time to see what the Redmi A3 could actually do.
I didn’t want to unlock the bootloader, replace Android or make any permanent changes to the phone. For this first test, I wanted something simple that would let me experiment with Linux while keeping Android intact.
I decided to use Termux, which provides a Linux-like terminal environment directly inside Android. From there, the plan was to use proot-distro to install Debian and run it alongside Android without requiring root access.
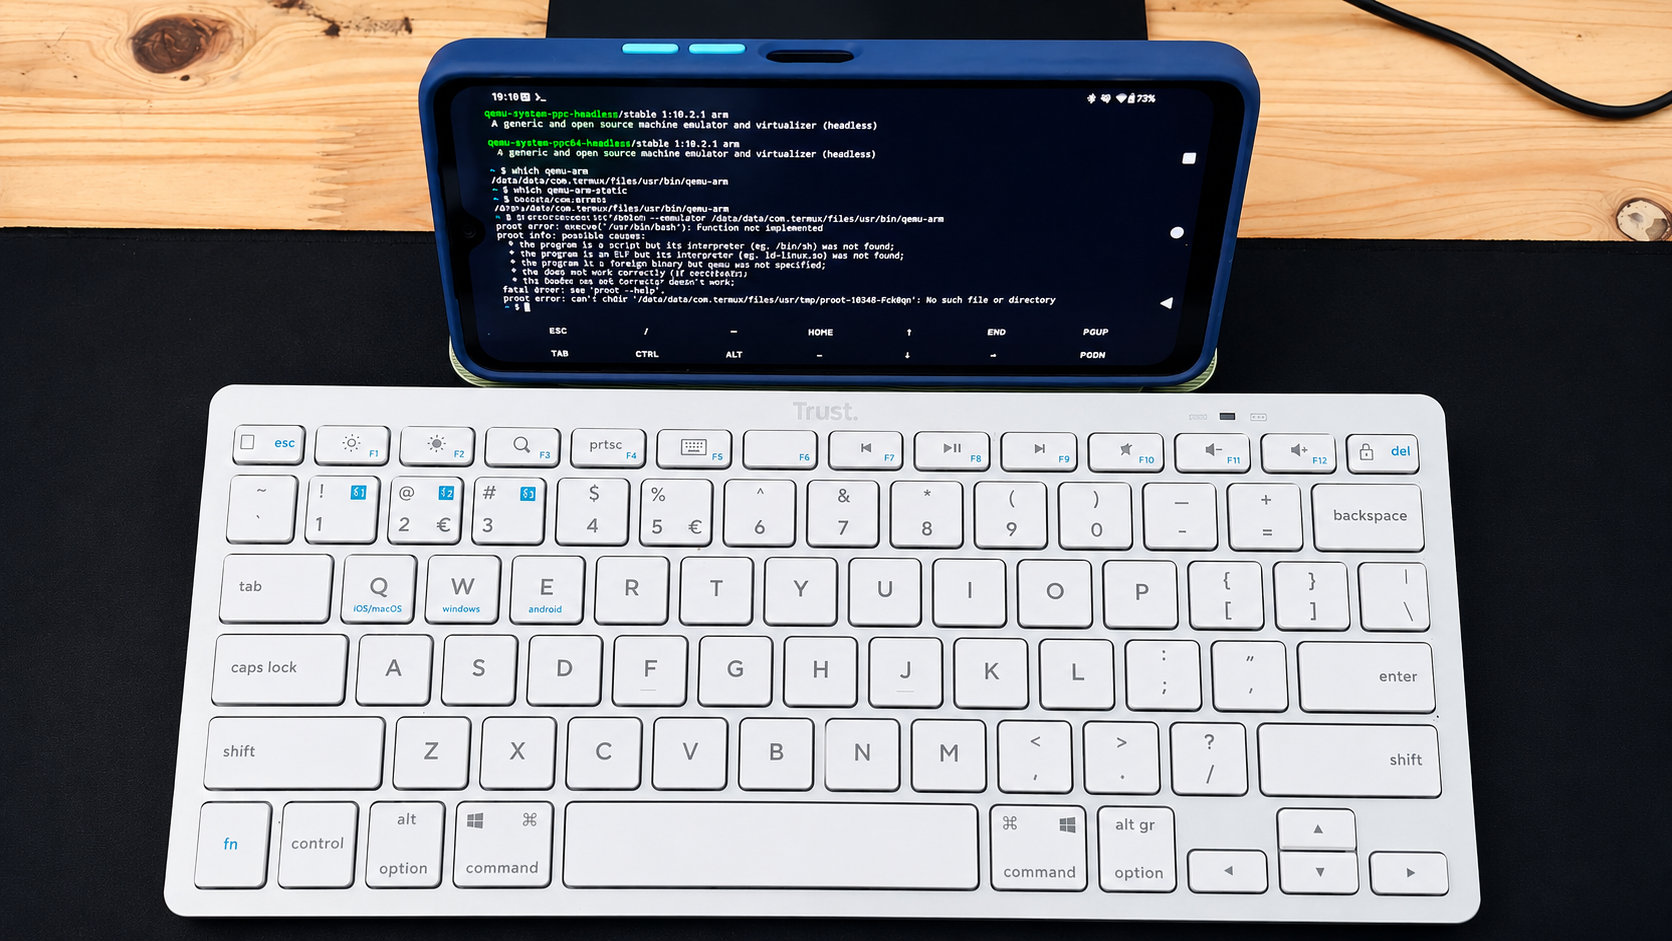
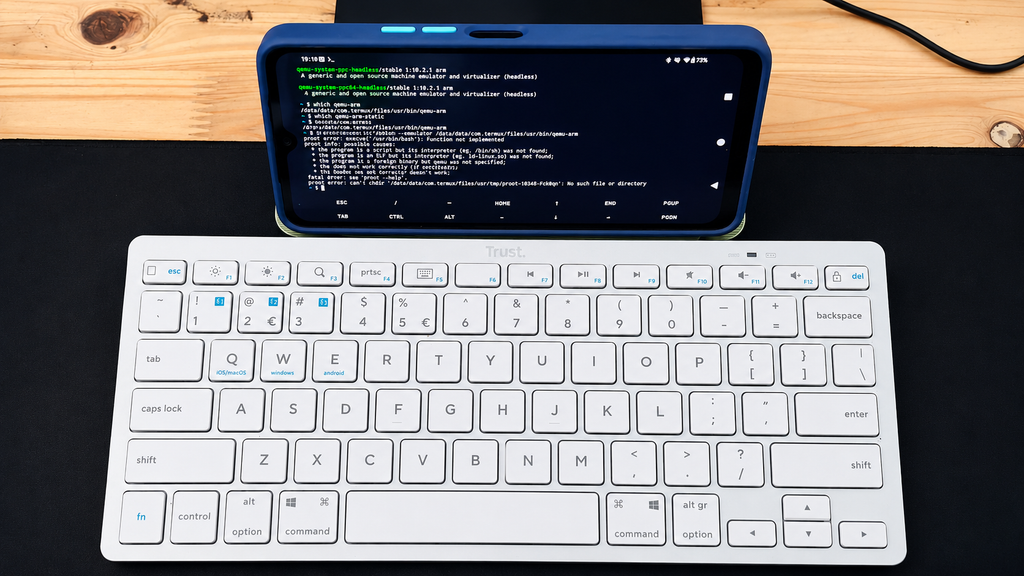
To make testing easier, I also connected a Bluetooth keyboard to the Redmi A3. Typing commands directly on the phone’s touchscreen quickly becomes awkward, and using a physical keyboard made the setup feel much closer to the kind of portable computer I eventually want the Cyberdeck to become. For now, the keyboard was only there to make testing easier, but it was also the first small glimpse of what the finished setup could eventually look like.
After installing Termux, I installed proot-distro and used it to set up a Debian environment.
At this point, everything looked promising. Debian downloaded and installed, and it seemed like I was only a command away from having a usable Linux environment running on the Redmi A3.
Then I tried to start Debian.
proot-distro login debianInstead of opening a Debian shell, I got:
proot error: execve("/usr/bin/bash"): Exec format error03 // SOMETHING IS WRONG
The Exec format error was the first sign that this wasn’t going to be as straightforward as I expected.
Debian appeared to install correctly, but the Redmi A3 couldn’t start the Bash executable inside the Debian environment. Rather than immediately giving up, I started checking what architecture Android and Termux were actually running on.
First, I checked the architecture reported by the system:
uname -mThe result was:
armThat was already interesting. I expected to be dealing with a modern 64-bit ARM environment, but the system was reporting simply arm. I then checked which architecture Termux itself was using:
dpkg --print-architectureAgain, the result was:
armFinally, I checked which CPU ABIs Android was exposing:
getprop ro.product.cpu.abilistThe result made the situation much clearer:
armeabi-v7a,armeabiAndroid was exposing only 32-bit ARM ABIs to applications. This gave me the clearest indication yet of why the Linux experiment wasn’t behaving the way I initially expected and became the main clue for the next part of the troubleshooting.
The Redmi A3 might still have enough hardware to make an interesting little computer, but the software environment was becoming the real obstacle.
04 // TRYING QEMU
At this point, I knew that simply reinstalling Debian wasn’t likely to solve the problem. The Redmi A3 was exposing a 32-bit ARM environment, and proot-distro was still unable to start Debian’s Bash executable.
Before giving up on the A3, I wanted to see if QEMU could provide a way around the architecture problem.
I checked the available packages and installed QEMU support in Termux. The installed package was:
qemu-common 1:10.2.1 armI then checked where the ARM emulator was located:
which qemu-armTermux returned:
/data/data/com.termux/files/usr/bin/qemu-armWith qemu-arm available, I tried telling proot-distro to use it when starting Debian:
proot-distro login debian --emulator /data/data/com.termux/files/usr/bin/qemu-armUnfortunately, this didn’t get Debian running either. The workaround still failed to give me a usable Debian shell.
I could probably continue digging deeper into QEMU, different root filesystems and other workarounds, but by this point the experiment was starting to move away from the original goal. I wasn’t trying to prove that Linux could be forced to run on the Redmi A3 at any cost , I wanted to find out whether the phone would make a practical base for a Cyberdeck.
So far, the answer wasn’t looking particularly promising.
05 // THE RESULT
So, can the Xiaomi Redmi A3 run Linux?
The answer from this experiment is: not in the simple way I was hoping for.
Termux itself works on the phone, and proot-distro was able to download and install a Debian environment. The problem appeared when it was time to actually start Debian. The Exec format error, combined with Android exposing only armeabi-v7a and armeabi, pointed towards the Redmi A3’s 32-bit Android userspace becoming a major limitation for this particular setup.
I also tried using QEMU as a possible workaround, but that still didn’t give me a usable Debian environment.
That doesn’t necessarily mean running Linux on the Redmi A3 is impossible. There may be other approaches, different distributions or more complicated workarounds that could get further than I did. But that wasn’t really the point of this experiment.
I wanted a phone that could become a practical base for the Android Cyberdeck, something I could run Linux on without spending more time fighting the platform than actually building the project.
For that purpose, the Redmi A3 isn’t the right choice for me. But the Cyberdeck project isn’t stopping here. The next candidate is a Xiaomi Redmi 15C 5G. Before doing anything else with it, I’ll check whether Android exposes a proper 64-bit ARM environment and then repeat the Linux experiment.
If that works, the 15C 5G could become the hardware at the center of the first Cyberdeck prototype.
The experiment continues.
PART OF // ANDROID CYBERDECK
Follow the full Android Cyberdeck project →