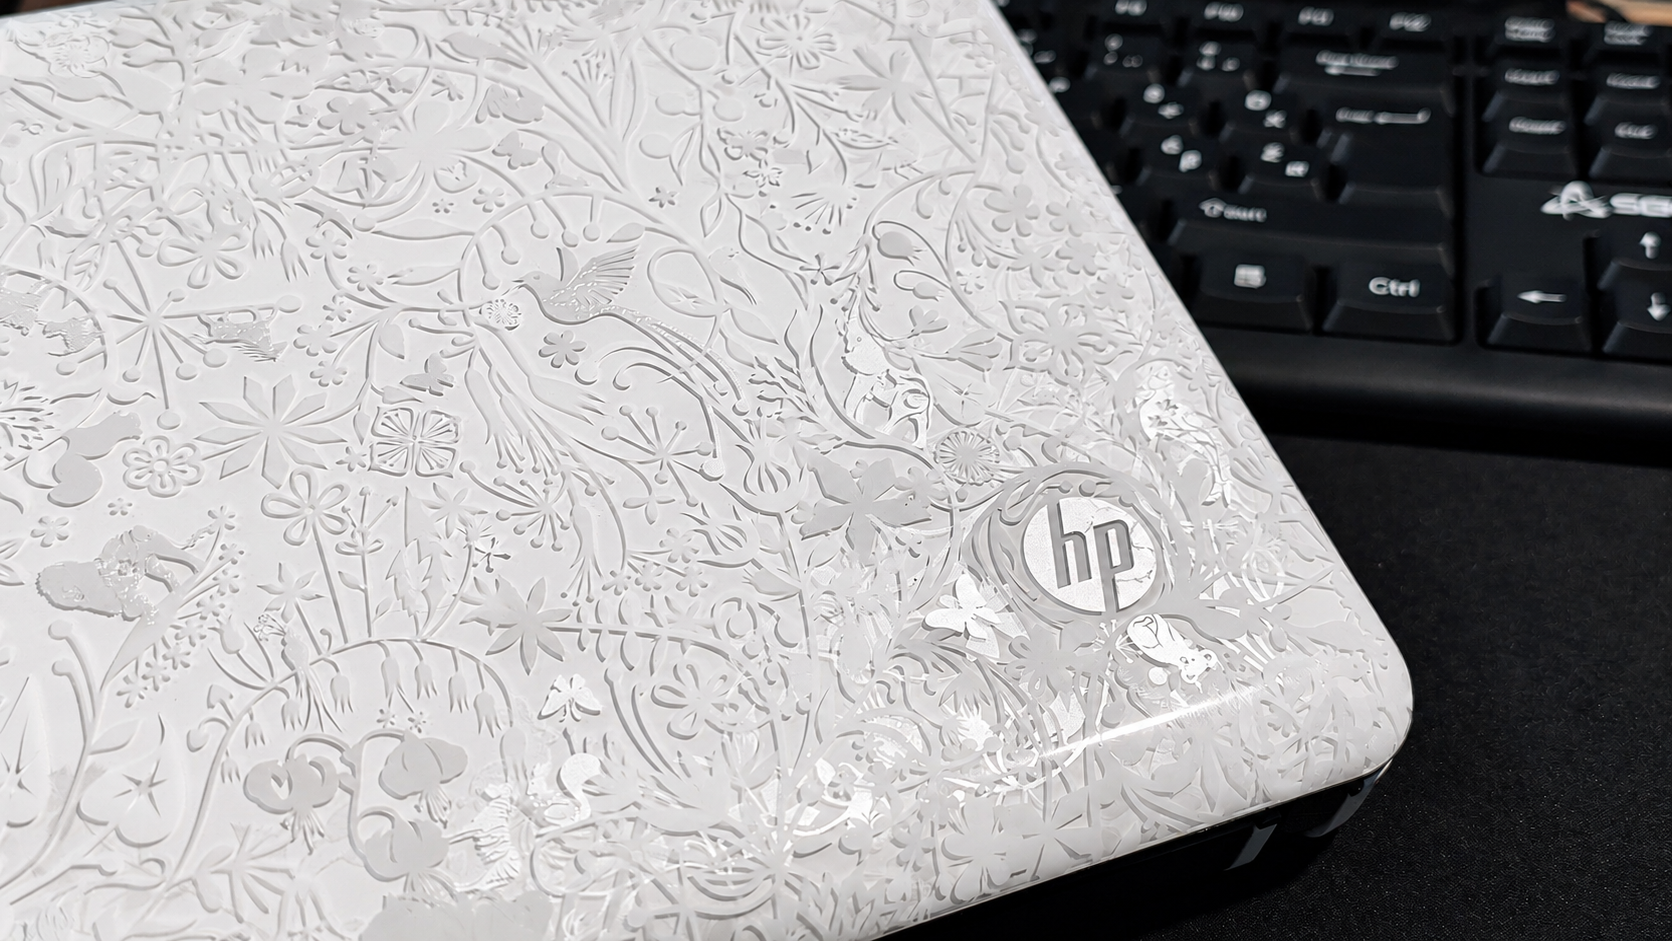
GUIDE 002 // HP Mini 110 // 32 Bit // Atom // Antix Linux
OCTOBER 2026
The HP Mini 110 is exactly the kind of machine that OpenBootLab exists for. It is small, inexpensive, easy to dismiss and far too interesting to throw away.
My example uses an Intel Atom N270, a processor from an era when 32-bit netbooks were everywhere. That architecture is now the biggest obstacle: most mainstream Linux distributions have stopped producing 32-bit installation images, while modern websites and applications expect much faster hardware.
That does not make the HP Mini useless. With a realistic goal and a lightweight operating system, it can still be a compact writing machine, terminal, retro gaming system or Linux experiment.
For this project, I installed antiX Linux, a lightweight Debian based distribution that still offers a 32-bit edition.
01 // THE HARDWARE
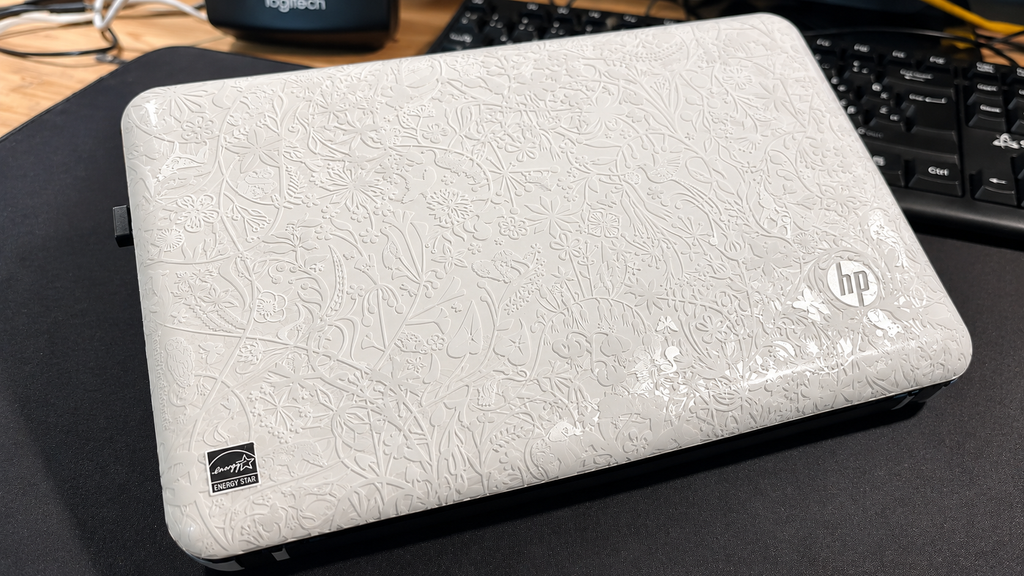
My machine is an HP Mini 110 special edition, model VT867EA#BED. Its Intel Atom N270 is a single-core processor with Hyper-Threading and, most importantly for this guide, a 32-bit instruction set.
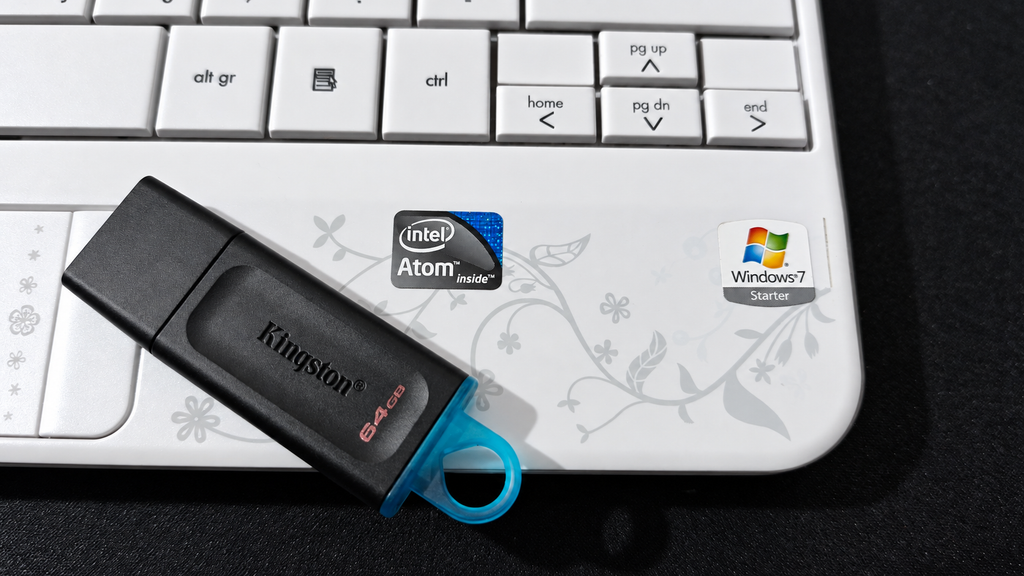
The original machine came with Windows 7 Starter and a generous collection of preinstalled HP software and casual games. It is an interesting time capsule, but Windows 7 is no longer a sensible everyday online operating system.
The goal was not to turn this netbook into a modern powerhouse. I wanted a currently maintained Linux system that could make the hardware useful again.

02 // CHECK WHETHER YOUR NETBOOK IS 32-BIT
Do not assume that every Atom netbook is 32-bit. Some later Atom processors support 64-bit operating systems.
If Linux is already running, check the architecture with:
lscpuLook for the Architecture and CPU op-mode(s) lines.
You can also run:
uname -mCommon results include:
i686ori386– a 32-bit Linux systemx86_64– a 64-bit Linux system
If no operating system is installed, search the exact processor model before downloading an ISO. The Atom N270 used in my HP Mini requires a 32-bit operating system.
If your computer is running Windows, you can find detailed information about its hardware and system specifications by opening System Information or running the dxdiag command to launch the DirectX Diagnostic Tool.
03 // WHY I CHOSE ANTIX
Finding a Linux distribution that still supports 32-bit hardware is becoming increasingly difficult. Most mainstream distributions have moved exclusively to 64-bit systems, leaving older computers like the HP Mini 110 with fewer options.
Fortunately, antiX Linux continues to support 32-bit x86 processors. Based on Debian Stable, antiX is designed to run efficiently on older and less powerful computers without requiring systemd.
That makes it a particularly good match for hardware with:
- A 32-bit processor
- Limited RAM
- A slow mechanical hard drive
- Older integrated graphics
- A low-power Intel Atom CPU
At the time of writing, the latest release is antiX 26.1, released on 29 September 2026.
antiX 26.1 is available in both 32-bit and 64-bit editions, with two installation options:
- Full Edition: Includes several lightweight window managers, preinstalled applications, and broader hardware support. This is the recommended option for most users.
- Core Edition: A smaller installation without a graphical desktop, intended for experienced users who prefer to build their system from a minimal foundation.
For this project, I chose the 32-bit Full Edition. It provides a usable desktop environment out of the box while keeping system requirements low enough for the HP Mini 110’s aging hardware.
DOWNLOADING ANTIX
The latest installation images are available from the official antiX website:
For the HP Mini 110 equipped with an Intel Atom N270, select the following ISO:
antiX-26.1_386-full.iso
Important: The Intel Atom N270 only supports 32-bit operating systems. A 64-bit installation image will not boot on this processor.
If a newer version of antiX becomes available after this article is published, check the official download page for the corresponding 32-bit Full Edition.
Note: My original installation used antiX 26. The newer antiX 26.1 release includes bug fixes, so I recommend downloading the updated version when performing a fresh installation.
04 // WHAT YOU NEED
- The HP Mini or another 32-bit x86 netbook
- A USB flash drive of at least 4 GB
- Another computer for downloading the ISO and creating the USB
- The 32-bit antiX ISO
- A backup of anything important on the netbook
- A charger connected throughout installation
Installing Linux can erase the internal drive. Copy any files you want to keep before continuing.
05 // CREATE THE BOOTABLE USB
Before installing antiX, you’ll need to create a bootable USB drive using the ISO file downloaded earlier.
Option 1: Windows – Using Rufus
If you’re using Windows, Rufus is a popular tool for creating bootable USB drives.
- Download Rufus from its official website.
- Connect a USB flash drive (at least 4 GB).
- Open Rufus and select your USB device.
- Click SELECT and choose the downloaded antiX ISO.
- For older BIOS-based netbooks, select MBR as the partition scheme and BIOS as the target system, where these options are available.
- Click START and follow the prompts.
Warning: Creating the bootable USB will erase the existing contents of the selected drive.
Option 2: Linux – Using GNOME Disks
If you’re already using Linux, you can create the bootable USB using GNOME Disks.
- Connect your USB drive.
- Open GNOME Disks.
- Select the USB drive from the device list.
- Open the drive menu and choose Restore Disk Image.
- Select the antiX ISO file.
- Confirm and allow the image-writing process to finish.
Once completed, safely eject the USB drive. You’re now ready to boot the HP Mini.
06 // BOOT THE HP MINI FROM USB
Connect the charger and insert the USB drive while the HP Mini is powered off.
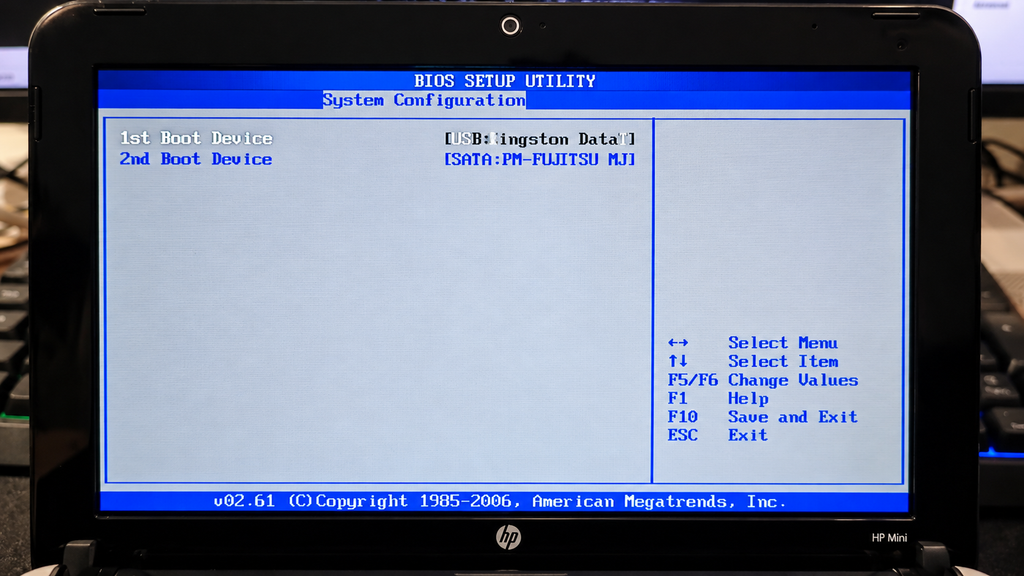
On the HP Mini 110, press Esc repeatedly immediately after powering it on to open the Startup Menu. Select the boot-device menu—normally F9—and choose the USB drive.
On another netbook, the key may be F12, F10, F9, Esc or Delete.
If the USB drive does not appear:
- Recreate it using an MBR/BIOS-compatible layout
- Try another USB port
- Check that USB boot is enabled in the BIOS
- Disable any quick-boot option if present
- Confirm that you downloaded the 32-bit ISO
These machines predate modern UEFI-only installation assumptions, so legacy BIOS compatibility matters.
07 // TEST THE LIVE SYSTEM FIRST
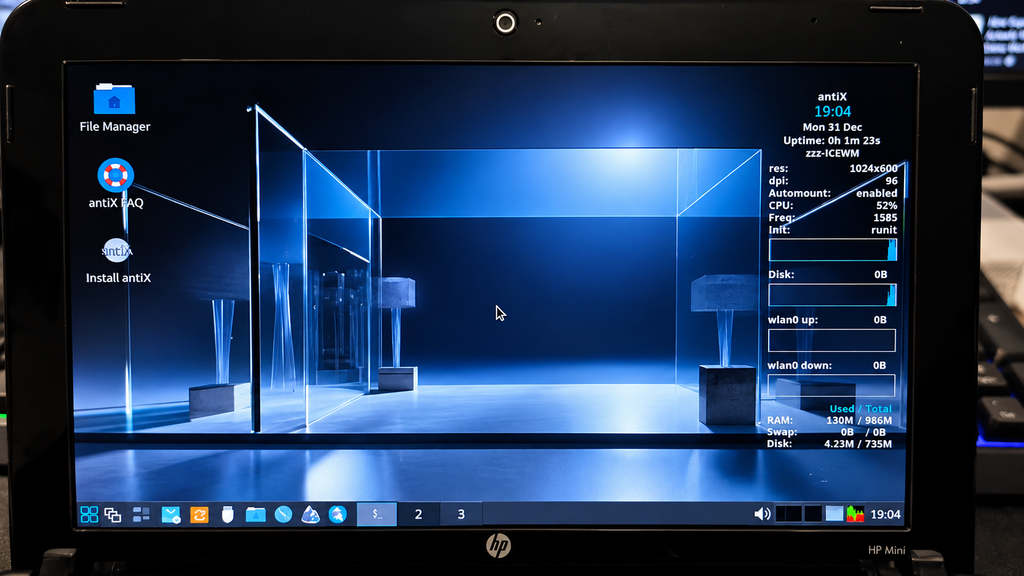
antiX can run as a live system before anything is installed on the internal drive. Boot the default live option and allow the desktop to load.
Before starting the installation, I recommend checking the following:
- Keyboard and touchpad
- Display resolution and brightness controls
- Wi-Fi or Ethernet connectivity
- Audio
- USB ports
- Battery detection
Testing the live environment is a useful way to identify potential hardware compatibility issues before making changes to the internal drive.
WI-FI CONNECTIVITY ISSUE
During my initial testing, I encountered an issue with the HP Mini 110’s wireless connectivity. The built-in Wi-Fi adapter was not functioning as expected, preventing me from establishing a reliable wireless connection.
To work around this, I connected the netbook directly to my network using an Ethernet cable. This allowed me to continue with the installation and download the necessary system updates without relying on Wi-Fi.
After completing the installation, I investigated the wireless connectivity issue further and discovered that the correct driver was not being used.
Once the appropriate driver was installed and configured, the wireless adapter started working correctly. Since resolving the driver issue, I haven’t experienced any further problems with wireless connectivity.
This is something worth keeping in mind when working with older hardware. Even if a component doesn’t work immediately, it doesn’t necessarily mean that it is unsupported. Sometimes, installing the correct driver or firmware is all that is needed.
PERFORMANCE EXPECTATIONS
Do not expect instant performance when running antiX from a USB drive. Older USB interfaces and slower flash drives can make the live environment feel less responsive than the final installation.
The important thing at this stage is to verify that the essential hardware works and that the system is suitable for installation.
08 // CONNECT TO THE NETWORK
As mentioned before If the internal Wi-Fi adapter is supported, use the network manager in the antiX desktop to select your network and enter its password.
Old wireless adapters can be unpredictable. If the internal card cannot see modern networks or repeatedly disconnects, useful alternatives include:
- Connecting temporarily with Ethernet
- Using a small Linux-compatible USB Wi-Fi adapter
- Downloading any required firmware from another computer
This is worth testing before installation because network access makes system updates much easier.
09 // INSTALL ANTIX
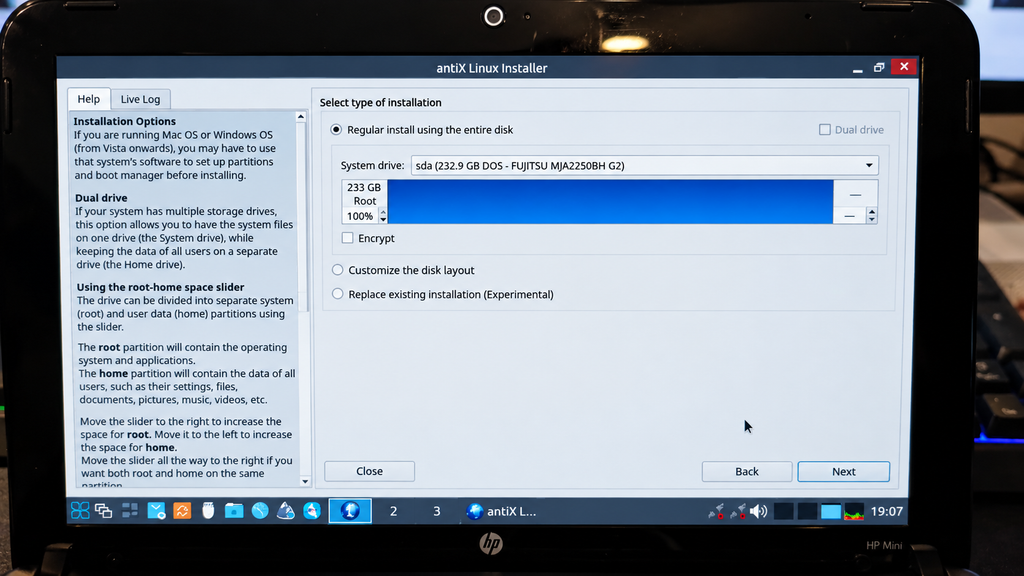
Start the antiX installer from the live desktop or application menu.
The exact wording can vary slightly between antiX releases, but the process follows the same general order:
- Choose the keyboard layout and language.
- Select the internal drive.
- Choose automatic installation using the entire disk, unless you specifically need manual partitioning or dual boot.
- Confirm the partition changes carefully.
- Choose the computer name.
- Create the normal user account and password.
- Set the administrator/root password if requested.
- Select the location and time zone.
- Install the bootloader to the internal disk.
- Wait for the files to be copied.
For a dedicated Linux netbook, allowing the installer to use the entire drive is the simplest approach. It also erases the existing Windows installation and all files on that disk.
Read the disk-selection screen carefully. If more than one drive is connected, verify the model and capacity before confirming any partition changes.
10 // FIRST BOOT
When installation finishes, shut down or restart the computer and remove the USB drive when prompted.
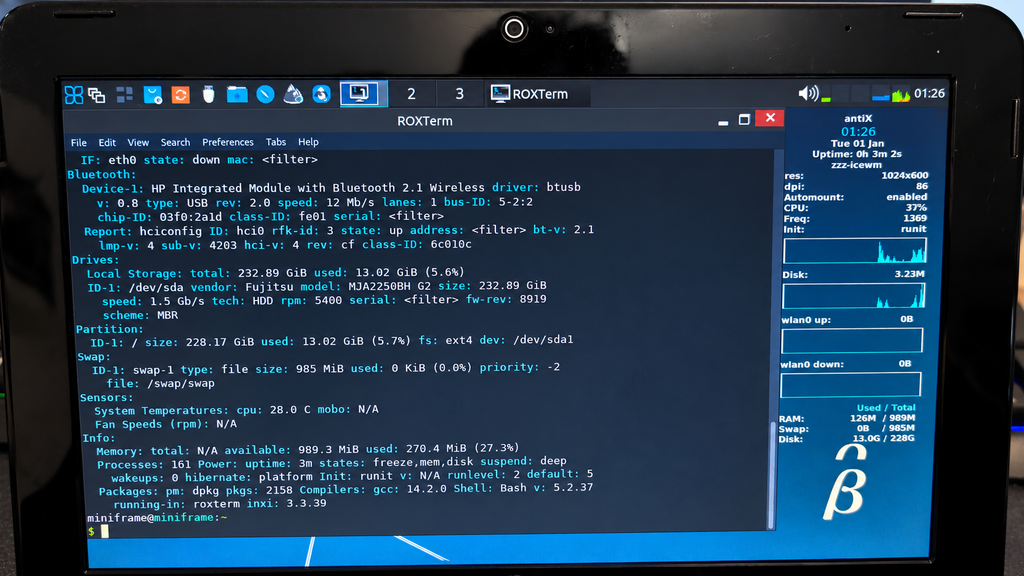
The first boot from an old mechanical hard drive may take some time. Once the desktop appears, confirm the installed architecture:
uname -mOn the HP Mini with the 32-bit antiX image, the result should identify a 32-bit x86 system.
You can also record the complete system information for the project:
inxi -FxxxzThe -z option filters some sensitive network information, which makes the output safer for screenshots.
11 // UPDATE THE SYSTEM
After connecting to the internet, update the package lists and installed software:
sudo apt update
sudo apt full-upgrade
Let the process finish, then restart if the update installs a new kernel or other core components.
On old hardware, the first large update can take considerably longer than it would on a modern SSD. Slow package installation does not necessarily mean that the system has frozen.
12 // KEEP THE DESKTOP LIGHT
The Atom N270 is the main limitation, so every unnecessary background task matters more than it would on a modern laptop.
My approach is simple:
- Keep the default lightweight window manager
- Avoid heavy startup applications
- Open only a few browser tabs
- Prefer lightweight native applications
- Use the terminal where it makes sense
- Avoid expecting modern HD streaming performance
Installing a heavier desktop environment would remove much of the reason for choosing antiX.
An SSD can improve boot times and application loading, but it cannot turn the Atom processor into a modern CPU. The goal is responsiveness within realistic limits.
13 // WHAT THE HP MINI CAN STILL DO
With antiX installed, the HP Mini can still be useful for:
- Writing and editing text
- Terminal and SSH access
- Lightweight web browsing
- Learning Linux commands
- Playing DOS and older games
- Running small scripts
- Displaying documentation beside another computer
- Acting as a deliberately limited, distraction-free machine
The modern web is the hardest workload. Heavy JavaScript, advertising, video playback and several open tabs can overwhelm the Atom processor quickly.
For local software and simple tasks, however, the machine feels far more useful than its specifications suggest.
14 // LIMITATIONS TO EXPECT
Reviving old hardware is more interesting when the limitations are stated honestly.
32-BIT SOFTWARE AVAILABILITY
antiX still supports the architecture, but not every third-party application provides a 32-bit Linux build. This will become a larger limitation over time.
MODERN WEB BROWSING
Simple pages can work, but complex websites may load slowly. Modern video streaming is not this machine’s strength.
PROCESSOR PERFORMANCE
The Atom N270 was designed for low power consumption, not heavy multitasking. One demanding task at a time is the realistic approach.
OLD STORAGE
If the netbook still uses its original hard drive, check its SMART health before trusting it with important data. An SSD upgrade can make the system feel much more responsive.
BATTERY CONDITION
Original netbook batteries are now very old. Mine still works, but battery condition will vary enormously between individual machines.
15 // FINAL THOUGHTS
Installing antiX does not make the HP Mini 110 modern again, and that was never the goal.
It takes a 32-bit Atom netbook that modern operating systems have largely left behind and gives it a current, lightweight Linux environment. The result is still slow by today’s standards, but it can write, run a terminal, connect to other systems and play older games.
More importantly, it is useful enough to keep experimenting with.
The HP Mini is not ready to replace a modern laptop. It is ready for a second life.
I will also make a full video tutorial on how to install antiX linux on a computer.
BUILD IT. BREAK IT. LEARN SOMETHING. TRY AGAIN.